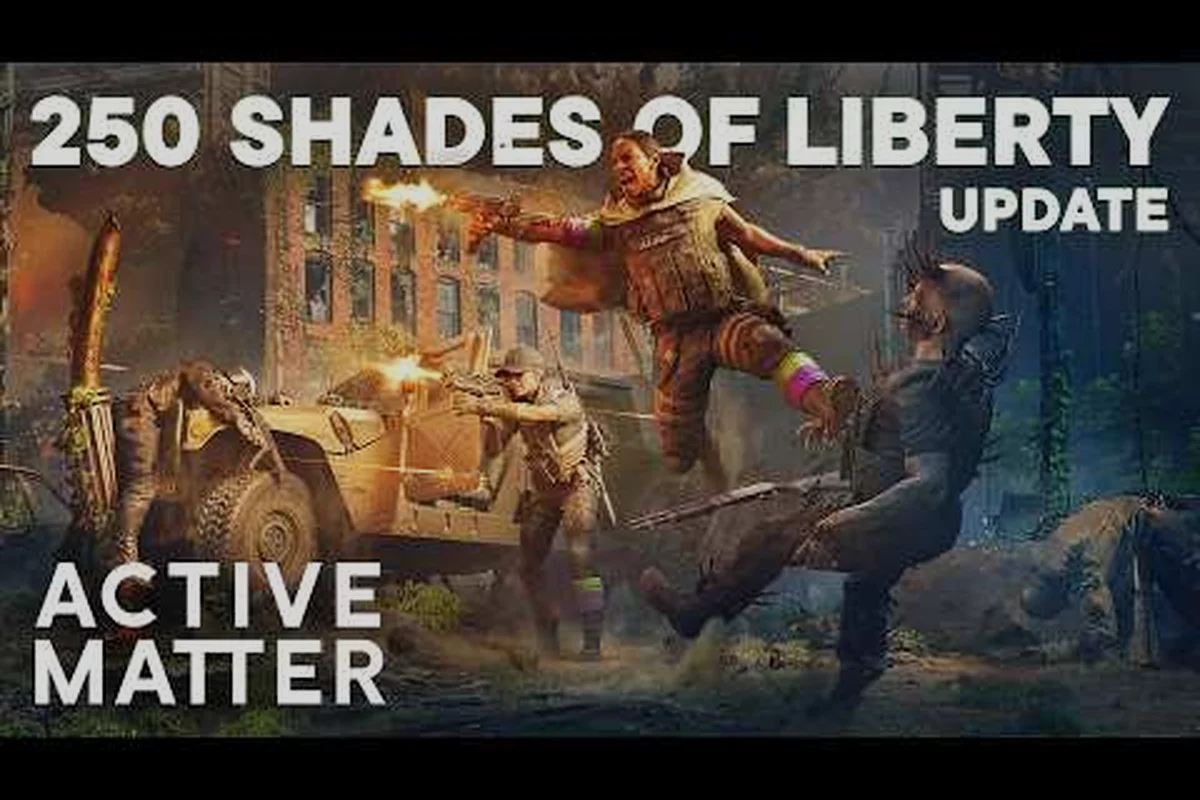
Learning active matter how to unlock maps is the single biggest leap in the early game, because the new Downtown, Downtown: Unstable Zone, Downtown: Collapse, and Airport raids introduced in the 250 Shades of Liberty update all sit behind progression gates that most solo players hit on day one. The official patch notes list the new zones, but they do not explain the exact unlock order or the craft-and-claim steps that the developer expects you to clear first.
This active matter progression guide walks through every gated raid in the order the game actually asks for them, so you stop bouncing off the "zone locked" screen and start running Downtown with a real loadout. The same framework also feeds directly into unlocking weapons and base rooms, so the payoff compounds.
Map and Weapon Unlock Progression Paths
Before touching a single map, it helps to see how the four unlock pillars connect. Active Matter is an extraction-style PvPvE shooter, and every gated map is downstream of one of four activities: a Stash tier you raise through extraction runs, a Replicator you craft inside your base, a Workshop you assemble weapon parts at, and a Syndicate Base you claim territory with. Push any one pillar forward and the corresponding map drops a tier of requirements.
The 250 Shades of Liberty update, detailed on the official Active Matter news page, adds four map layers that all key off this system: a Tier 2 Stash requirement opens Downtown, a Tier 2 Replicator unlocks the Unstable Zone, a Tier 3 Workshop gates the Collapse variant, and Syndicate Base control over a passive AM source for one full match exposes the Airport raid. The design is deliberately cascading, so a Stash Tier 2 player who suddenly claims Syndicate territory still cannot enter Collapse without the Workshop parts.
| New Raid Zone | Unlock Pillar | Core Requirement | Difficulty Tier |
|---|---|---|---|
| Downtown | Stash Tier 2 | 3 successful extractions with rare loot | Intermediate |
| Downtown: Unstable Zone | Replicator Tier 2 | Craft AM Rounds and a weapon mod | Intermediate |
| Downtown: Collapse | Workshop Tier 3 | Assemble one mod from 250 Shades DLC parts | Advanced |
| Airport | Syndicate Base control | Hold a passive AM source for one full match | Advanced |
The table is the mental model for the rest of the guide. If you only grind one pillar, you unlock one new map. If you push all four in parallel, you bypass the gates that normally bottleneck the next map. Community testing shared on the official Active Matter update video confirms that players who skip straight to Syndicate territory still need the Workshop tier 3 to enter Collapse variants.
Why the Order Matters
The map names look sequential, but the requirements do not stack neatly. You can enter Downtown: Unstable Zone without owning Downtown, because the Unstable variant keys off your Replicator output, not your extraction history. This is the trick most solo players miss. When a squad reports being "stuck" on Downtown, the fix is almost never another extraction run; it is a single Replicator upgrade they have not built yet.
The Airport raid is the outlier. It unlocks only through a Syndicate Base claim, which means at least one squad mate has to be inside an active syndicate with passive-AM control. Solo players can still unlock Airport, but only by first building a personal base that meets the syndicate-base construction requirements, which is where the rest of this guide goes next.
Building Your Personal Base First
Your base is the engine that unlocks weapons, mods, and most of the gated maps. Skipping base construction is the most common reason the active matter how to unlock maps question goes unanswered in squad chats. According to the official Active Matter game page, the raid loop lets operators drop in alone or with a compact fireteam into quantum unstable zones, gathering AM from transformed creatures, other players, or clusters, and the base is what converts that loot into unlock progress.
Stash Room
The Stash is your first base room and the gate to Downtown. The construction recipe requires 40 Common Alloys, 15 Wiring Bundles, and 1 Power Cell. Every successful extraction deposits alloys and wiring directly into the Stash, so the room essentially pays for itself if you survive three runs in a row. Tier 2 of the Stash is what flips Downtown from "locked" to "available" on the map screen.
Replicator Room
The Replicator is the second room and the gate to Downtown: Unstable Zone. It consumes AM Rounds and produces weapon mods, ammo bundles, and a small but reliable trickle of rare crafting parts. The first Replicator blueprint is unlocked by completing the tutorial extraction and then claiming any of the three starter rewards from the drop table. Building it to tier 2 is what the 250 Shades of Liberty patch uses as the Downtown: Unstable Zone key.
Workshop Room
The Workshop is where the new weapons and mods from 250 Shades of Liberty get assembled. The new firearms added to the patch — RSh-12, MAC-11, P17-V, SCAR-H, M14, M39 EMR, and DP-12 — all require Workshop-tier recipes that you can only craft after the room is built. The new melee weapons (Crowbar, Pry bar, Baseball bat, and Police Flashlight) and the new gear (Kamikaze drone, Thermal drone) follow the same pattern. If your Workshop is not built, you cannot assemble the Spectrum Scope 1-4x, the TGP-A Suppressor, or the C5 Laser Sight, and that is what blocks Downtown: Collapse.
For a deeper breakdown of how the Stash, Replicator, and Workshop fit together, the Active Matter base upgrade guide walks through the exact construction order that new players should follow. According to community-tested build orders, the Workshop should come online before you commit Power to the Stash upgrade past tier 1, because three of the seven new firearms (RSh-12, SCAR-H, M39 EMR) demand Workshop-unlocked receivers and cannot be queued from the Replicator alone. Skipping that order is one of the most common reasons squads stall before unlocking the Downtown: Collapse extraction point, since the mission's mandatory loadout requires a suppressed weapon like the TGP-A on the SCAR-H or M14 platform.
Joining or Claiming a Syndicate Base
A Syndicate Base is the only path to the Airport raid and the fastest way to make sure the rest of your active matter progression guide milestones stay fed. Syndicates fight over passive AM sources and AM-based tech, and the squad that holds a territory can channel that resource directly into map unlocks. Players who are not yet in a syndicate still need to build a personal base that meets the syndicate-base threshold before the Airport map is selectable on the world map.
Picking a Syndicate
Syndicate choice matters less than people think for map unlocks, because all four major syndicates contribute to the same shared control meter. The real differences are the secondary perks, such as faster drone cooldowns, AM Round discounts, or extraction insurance, which is why the Active Matter PvP guide recommends a syndicate that complements your playstyle rather than chasing a "best" label.
| Syndicate Focus | Best For | Map Unlock Bonus |
|---|---|---|
| Heavy-PvP Syndicates | Squads that hold zones aggressively | Faster Airport cooldown |
| Crafting Syndicates | Solo players with large Workshops | Cheaper Replicator parts |
| Recon Syndicates | Drone and scout players | Earlier Thermal drone access |
| Balanced Syndicates | Mixed squads | Standard unlock rate |
Claiming Your First Base
The base claim sequence has three steps: scout a passive AM node, place a deployable claim beacon, and defend the beacon for one full extraction cycle. The cycle length matches the standard extraction timer, which according to the official news page is unchanged in the 250 Shades of Liberty update. Once the timer expires, the node is yours for the next match and the Airport map unlocks for every squad member on the claim roster.
Step-by-Step Active Matter How to Unlock Maps Walkthrough
This is the exact order to clear the gates without bouncing between locked screens. The walkthrough assumes a solo player with a starter loadout and no prior syndicate membership, and each step is sized to roughly one or two extraction sessions.
Step 1: Run Three Standard Extractions
Pick the lowest-difficulty raid available and extract three times in a row, depositing any rare loot you find into the Stash. After the third extraction, the Stash hits tier 2 and the Downtown map becomes selectable. This step also seeds the alloys and wiring you need for the Replicator.
Step 2: Build the Replicator to Tier 2
Use the alloys from Step 1 plus any AM Rounds you harvested to upgrade the Replicator. The tier 2 upgrade requires 25 AM Rounds, 10 Synthetic Fibers, and 2 Power Cells. Once the upgrade completes, the Downtown: Unstable Zone map drops its lock. The same upgrade also unlocks the recipes for the new 250 Shades of Liberty mods.
Step 3: Push the Workshop to Tier 3
Craft at least one of the new weapons from the patch — the SCAR-H is the easiest recipe for a solo player — to drive the Workshop to tier 3. The craft counts toward your progression meter and unlocks the Downtown: Collapse map, which is the hardest of the three Downtown variants and the one that drops the rarest mods.
Step 4: Join a Syndicate and Claim a Base
Join any syndicate that will accept a new recruit, then participate in a passive-AM claim cycle. Hold the node for one full match and the Airport map unlocks for the entire squad. The map includes a plane suspended in a gravity anomaly, which is the centerpiece of the 250 Shades of Liberty update and the only map where the new Kamikaze drone and Thermal drone both shine.
| Step | Action | Map Unlocked | Estimated Time |
|---|---|---|---|
| 1 | 3 standard extractions | Downtown | 45-60 min |
| 2 | Replicator tier 2 | Downtown: Unstable Zone | 30-45 min |
| 3 | Workshop tier 3 + 1 craft | Downtown: Collapse | 60-90 min |
| 4 | Syndicate claim | Airport | One full match |
Progression, Weapons, and Loadout Synergy
The four pillars that unlock maps also drive how fast you unlock weapons. The 250 Shades of Liberty update added seven new firearms and four new melee weapons, and each one is gated behind a Workshop or Replicator milestone. The active matter how to unlock weapons search is essentially the same question with a smaller scope, because the weapons fall out of the same progression tree.
New Firearms at a Glance
| Weapon | Type | Workshop Tier Required | Best Use Case |
|---|---|---|---|
| RSh-12 | Heavy revolver | Tier 2 | Anti-armor elite kills |
| MAC-11 | SMG | Tier 2 | Close-quarters Downtown fights |
| P17-V | Sidearm | Tier 2 | Backup weapon slot |
| SCAR-H | Battle rifle | Tier 3 | Mid-range Collapse runs |
| M14 | DMR | Tier 3 | Long-range Airport overwatch |
| M39 EMR | Sniper | Tier 3 | Hangar sightlines |
| DP-12 | Shotgun | Tier 3 | Plane-interior breaching |
New Melee and Gear
The four new melee weapons — Crowbar, Pry bar, Baseball bat, and Police Flashlight — are unlocked through the same Workshop recipes, but they consume fewer rare parts. They are the most cost-effective way to push Workshop XP if you are saving alloys for the firearm unlocks. The new Kamikaze and Thermal drones are the first gear items that require both Workshop tier 3 and a Syndicate Base claim, which is why they only drop inside the Airport raid.
For a closer look at how the new weapons interact with grenade loadouts, the Active Matter grenades guide covers the ammo economy that keeps the new firearms fed through a full Collapse run. Because the Kamikaze and Thermal drones already burn through your Syndicate Base claim charges, pairing a heavy launcher with a flashbang belt lets you preserve drone uptime while still clearing Collapse-tier mobs, and the guide breaks down which grenade types restock from Workshop crates versus mid-raid drops.
Common Roadblocks and How to Clear Them
Even when the unlock order for active matter maps is followed correctly, three roadblocks still trap most players — a low Stash tier, an un-upgraded Replicator, and a missing syndicate claim. The fix for each follows the same logic: stop grinding the wrong progression pillar and push whichever one the current map actually keys off, since the game hard-gates each location behind a single specific system rather than overall power.
-
Stuck on Downtown — Almost always a Stash tier 1 issue. Run two more extractions and deposit rare loot directly into the Stash instead of selling it.
-
Stuck on Downtown: Unstable Zone — Replicator is at tier 1. Craft any AM Round bundle and the upgrade ticks immediately.
-
Stuck on Airport — No syndicate claim yet. Join a syndicate first, then defend a passive-AM node for one match.
Faction and Map Coverage Tips
If you want to push all four pillars at once, the fastest loop is a single extraction that deposits alloys into the Stash, a craft session that bumps the Replicator and Workshop, and a brief syndicate run that scores a passive-AM bonus. Running that loop twice will unlock all four new maps from the 250 Shades of Liberty patch. Players who want to see the exact claim flow can also check the existing Active Matter WWII map guide for visual reference on how raid zones are laid out.
Frequently Asked Questions
What is the fastest way to unlock all four new Active Matter maps?
Run the four pillars in parallel: three extractions for the Stash, one Replicator upgrade, one Workshop craft, and one syndicate claim. Doing all four in the same play session unlocks Downtown, Downtown: Unstable Zone, Downtown: Collapse, and Airport in about two to three hours.
Do I need a syndicate to unlock Downtown and the Collapse variant?
The Downtown trio (Downtown, Downtown: Unstable Zone, and Downtown: Collapse) all key off base construction milestones — Stash extractions, Replicator upgrades, and Workshop tier 3 crafting respectively — not syndicate membership. Only the Airport map requires a syndicate base claim, so solo players who build and upgrade their personal base can fully unlock the Downtown raid progression without ever joining a syndicate.
How do I unlock the new 250 Shades of Liberty weapons?
All seven new firearms require the Workshop to be at tier 3, and the specific recipe unlocks drop from the new raid zones. The SCAR-H is the cheapest to assemble and is a good first target for solo players.
Can I unlock the new maps without building a personal base?
No. Every gated map in the 250 Shades of Liberty update traces back to a base room, a Workshop craft, or a syndicate claim, and the personal base is the only way to access all three. Even the Airport raid requires the syndicate base construction prerequisites, which means a personal base is unavoidable.
What is the difference between Downtown: Unstable Zone and Downtown: Collapse?
Unstable Zone is a standard raid with extra AM clusters and a Replicator-tier unlock requirement. Collapse is a harder variant with elite enemy density, rare mod drops, and a Workshop-tier 3 unlock requirement. Collapse is the highest-difficulty new map in the patch.