
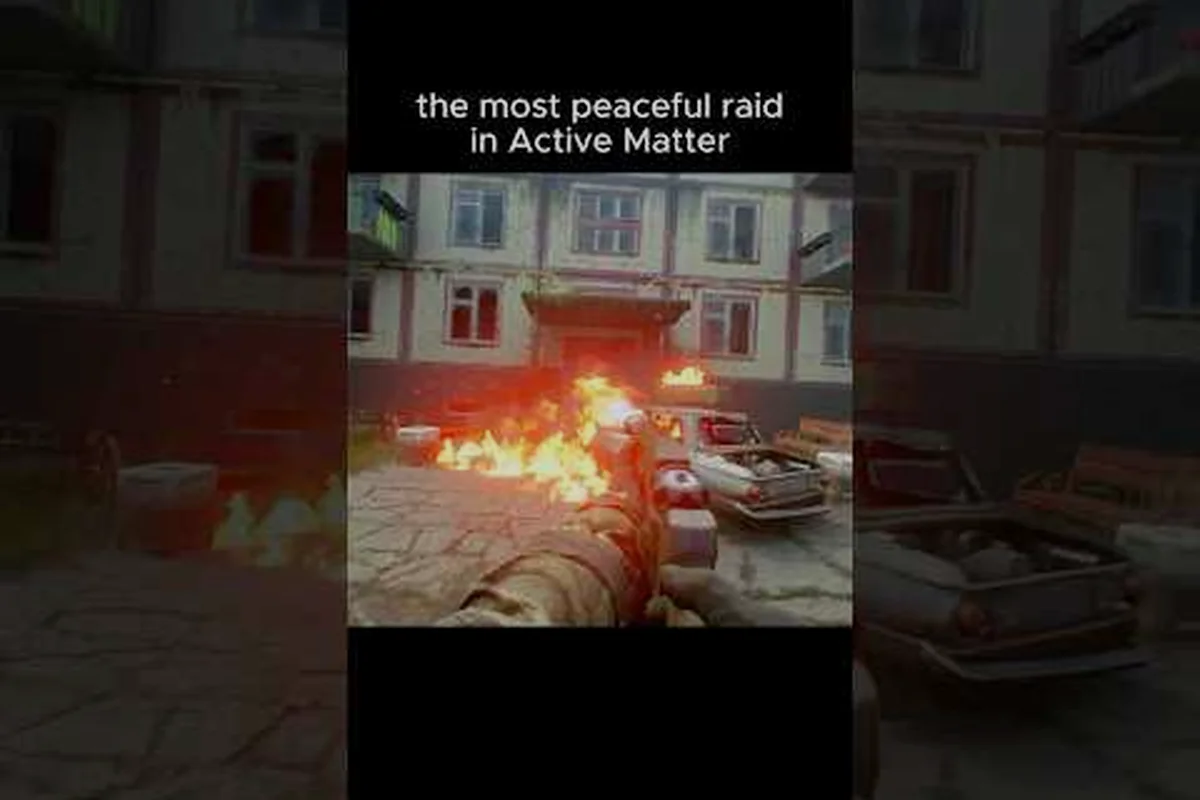
Going solo in Active Matter means dropping into a quantum unstable zone with nobody watching your six, nobody to revive you, and nobody to split loot with. This active matter solo guide covers the mechanics, loadout choices, and tactical decisions that separate a one-life extraction from a frustrating gear-loss run, giving you a realistic path to pulling active matter and high-tier loot out of the map alive.
Active Matter launched on Steam, PlayStation 5, and Xbox Series X|S on September 15th, 2026, and the extraction loop is punishing by design. According to the Active Matter official site, players can go inside alone or in small squads, and active matter can be harvested from AM-transformed creatures, taken from other operators, or pulled directly from clusters. That triad of sources means solo players compete against both AI threats and human squads, which is why the active matter best way to play for lone wolves looks very different from a coordinated four-stack. Community data also suggests that solo runs benefit more from a quiet, mobility-first playstyle than from front-line combat, so the rest of this active matter survival guide focuses on making fewer noise events, faster rotations, and smarter extracts.
If you want a deeper breakdown of the gear side, the Active Matter loadout guide walks through armor plates and weapon priorities that pair well with the playstyles below — specifically how silenced SMGs and mid-tier plates outperform loud ARs when you have no squad to tank aggro, and why a secondary sidearm with high ammo efficiency beats a second primary in solo quantum unstable zone rotations.
Understanding the Solo Extraction Loop in Active Matter
The first thing any active matter solo guide has to nail down is the actual loop. You spawn with whatever gear you queued in, move through a quantum unstable zone, fight or avoid threats, and extract before you die. If you die, you lose what you brought in and most of what you picked up, so the active matter best way to play favors a low-risk, high-perception approach rather than a kill-everything mindset. Patch 0.4.0.62 (noted on the Active Matter news page) shifted several balance numbers around drones, base rooms, and weapons, so solo players should always recheck their loadout before a run.
Core Objectives on Every Solo Raid
Every solo run has three jobs: get in, get active matter, and get out. They sound simple, but each stage has different risk profiles, and solo players who treat the loop as one task tend to die around the halfway mark. The official gameplay trailer shown at gamescom 2025 shows the cycle: enter, fight anomalies, extract with loot.
| Stage | Primary Goal | Solo Risk | Active Matter Tip |
|---|---|---|---|
| Insertion | Reach a looting zone fast | Medium — limited map knowledge | Avoid hot-drop landmarks; land off-route |
| Harvest | Kill AM-creatures or hit clusters | High — both PvE and PvP | Focus clusters over PvP unless gear is weak |
| Extraction | Reach an exfil before timer or wipe | Very high — exfil chokepoints | Trigger extract early; expect third parties |
What Makes Solo Harder Than Squad Play
When you queue solo, you lose four major squad utilities: shared recon, distributed fire, buddy revive, and split inventory. According to community data, solo extraction success rates drop noticeably compared to duo or squad runs, mostly because of the missing revive layer. The active matter survival guide mindset is to treat every encounter as a fight you can only win by being prepared before it starts, not during. That means pre-aimed sightlines, pre-staged healing, and a planned exit before the first shot rings out.
The good news is the active matter best way to play for solo operators is more flexible than squad play. You don't have to coordinate roles, you can pivot the moment a route goes cold, and you can extract at any point instead of waiting for the slowest squadmate. That flexibility is your biggest edge, and the rest of this active matter solo guide focuses on turning it into consistent extractions.
Stealth, Sound, and the Solo Information War
Without teammates to call contacts or watch flanks, your survival in Active Matter comes down to what you hear and see before the enemy does. Stealth in solo play is not about being invisible — it is about controlling who knows where you are and when. Patch notes on the official site reference multiple audio and recon balance changes, so what worked in 0.4.0.44 may already be tuned differently in 0.4.0.62.
Sound Discipline and Movement Choices
Sound is the single biggest killer of solo runs. Footsteps, gunfire, and deployables all generate audio events that AI creatures and human players can use to triangulate your position. The active matter tips for beginners section always stresses crouch-walking through contested areas, but experienced solo players go further: they plan routes that avoid gravel, metal floors, and water crossings whenever possible.
| Movement Choice | Audio Signature | Solo Recommendation |
|---|---|---|
| Sprint on pavement | Very loud | Use only for clear rotations |
| Crouch-walk on grass | Very quiet | Default in looting zones |
| Vaulting | Moderate spike | Avoid near unknown contacts |
| Vehicle use | High and sustained | Risk-reward only, expect tracking |
Intel Tools and Recon Sources
Solo players have access to the same intel tools as squads, but they have to use them more deliberately. Drones, optical scopes, and map pings all generate usage noise or light, so a solo run that spams recon abilities gives away position faster than a squad that uses them in coordinated bursts. The active matter best way to play here is to scout with a short ping, then move based on what you saw, not what you hope to see.
If you are still learning the maps, the Active Matter Dam raid breakdown covers sightlines and exfil patterns that pair well with the stealth tips above — including which ridge lines give 180-degree overwatch of the southern helipad, the two stairwell chokepoints where AI scavengers consistently path, and the 45-second window between SAM tower resets that solo extractors can chain with a suppressed sidearm to avoid drawing the map-wide ping that drones trigger.
Active Matter Loadout Choices for Lone Wolf Runs
Loadout is where solo players either set up a comfortable run or set themselves up to lose everything. Squads can afford a glass-cannon build because someone will cover the close fight; solo players cannot. The active matter best way to play for a loadout is a balanced mid-tier kit that handles AI threats, escapes PvP, and still has enough inventory space for whatever active matter you find.
Solo vs Squad Loadout Priorities
| Slot | Squad Priority | Solo Priority | Reasoning |
|---|---|---|---|
| Primary Weapon | High DPS, short TTK | Mid DPS, controllable recoil | Sustained fights are a solo liability |
| Secondary | Situational tool | Reliable panic weapon | You may need a finisher without backup |
| Armor | Light to medium | Medium with spare plates | One bad fight shouldn't end the run |
| Healing | Shared pool | Personal stockpile | No one can top you off mid-fight |
| Utility | Role-specific (scan, heal, ammo) | Mobility + escape tools | Disengage is your default action |
Active Matter Tips for Beginners on Budget vs Expensive Loadouts
A common active matter tips for beginners question is whether to bring cheap or expensive gear. Community data on early wipe behavior suggests that very cheap loadouts are actually riskier for solo players than mid-tier ones, because they lack the stopping power to kill a creature quickly and the armor to survive one mistake. Bringing your most expensive kit, on the other hand, means every death wipes real value.
The active matter best way to play for a solo budget is to bring gear you are comfortable losing, with at least one piece of mid-tier value so the run still feels worth it. For more on specific vehicle and weapon picks, the Active Matter assault quad bike loadout notes cover the Bonecrusher ATV and other solo-friendly options.
PvP Encounters and When to Fight as a Solo Operator
PvP in Active Matter is a constant background threat, and solo players cannot win every duel. The active matter best way to play is to pick fights that you can finish quickly, against operators who don't know you are there, and to disengage the moment the math goes against you. According to community data, solo kills most often happen when the enemy is already engaged with AI or another squad, which is the textbook ambush window.
Pre-Fight Decision Matrix
| Situation | Recommended Action | Solo Rationale |
|---|---|---|
| Enemy is fighting AI | Hold angle, wait for the kill, third-party | They will be distracted and low-resource |
| Enemy sees you first | Break line of sight, reposition | Open fights are coin flips you cannot afford |
| Equal gear, equal positioning | Disengage, rotate | The win has marginal value vs the loss risk |
| You hold high ground or info | Take the shot | Information advantage is your only squad replacement |
Working With (or Against) Syndicates
Syndicates add another layer to solo play. As described on the official site, syndicates compete for steady passive AM nodes and tech derived from the substance, which means certain map areas will always have organized groups around them. Solo players usually avoid those contested zones entirely on early wipes, then move in once a faction has established dominance and the cross-faction traffic thins out.
The Active Matter PvP guide breaks down the syndicate and PvP ecosystem in more detail if you want to understand which groups actually control which maps at any given moment. Tracking faction control shifts in real time matters because a zone held by a rival syndicate one cycle can flip within a single raid, and solo players who walk in expecting a quiet farming route often get caught in crossfire between two organized groups contesting an AM deposit. Checking the map's current controller status before you commit to a path lets you route around live turf wars and save your loadout for the contested sectors where the real active matter payouts justify the risk.
Survival Tactics, Extract Routes, and the Final Stretch
The last third of a solo raid is where most runs fall apart. You have loot, you are tired, and the temptation is to push one more cluster before extracting. The active matter survival guide answer is hard: extract. A clean run with mid-tier loot beats a greedy run that loses everything, and over a dozen raids that discipline compounds into real wealth.
Extracting Safely as a Solo Player
| Extract Step | Action | Why It Matters |
|---|---|---|
| Trigger | Pull the extract early in the timer | Gives a buffer for PvP arrivals |
| Hold | Pick a covered position with two exits | Third parties love to rush pinned solos |
| Bailout | Pre-plan a fallback if outnumbered | A bad extract is still better than a wipe |
| Confirm | Only leave when the exfil is green | Premature movement gives away position |
Rotation and Map Discipline
Good rotations are the single biggest factor separating a consistent solo player from a frustrated one. Solo operators should learn at least two exfils per map and rotate between them based on where the AI density and player activity are highest. The active matter tips for beginners section usually says "don't go to the hot POI" without explaining why, and the reason is simple: hot zones attract squads who will gladly use you as loot.
A more advanced tactic is to time your rotation around the natural PvP windows. The first 5-7 minutes of a raid are usually hot because squads are hunting early loot; the last 5 minutes are hot because everyone is extracting. The middle window is the safest time to push a quiet cluster, which is one of the more advanced active matter tips for beginners who have already learned the basics.
Frequently Asked Questions
Is Active Matter playable solo, or do I need a squad?
Yes, Active Matter is fully playable solo. The game supports both solo and small squad play inside the quantum unstable zones, and solo is a legitimate, if harder, path to extracting active matter and loot. The active matter solo guide playstyle is built around stealth, smart rotations, and conservative extractions rather than squad-style aggression.
What is the active matter best way to play as a solo beginner?
The active matter best way to play as a solo beginner is a mid-tier loadout, a quiet rotation, and an early extract on the first 5-10 raids while you learn map layouts and audio cues. Prioritize active matter clusters over PvP encounters, and avoid hot drop zones until you know the exfil paths.
How is the active matter squad guide different from solo play?
A standard active matter squad guide focuses on role assignments, shared utility, and coordinated pushes, which are tools solo players do not have. The solo variant of the same active matter squad guide concept trades role synergy for stealth, self-sufficiency, and pre-planned escape routes, which is why the two playstyles use very different loadout priorities.
What is the biggest active matter survival tip for solo players?
The single biggest active matter survival tip for solo players is to extract before you are forced to. Greed is the number one cause of solo wipes according to community data, and a clean run with average loot always outperforms a flashy run that ends in a lost kit. Treat every extract as a successful mission, not a missed opportunity.
Can solo players compete with syndicates for active matter control?
Solo players can compete with syndicates, but usually only by avoiding them rather than fighting them head-on. According to the official site, syndicates fight over passive sources of active matter, which means those zones will be heavily contested. Solo operators should focus on roaming clusters, AM-transformed creatures, and unclaimed map areas instead of holding territory against organized groups.