
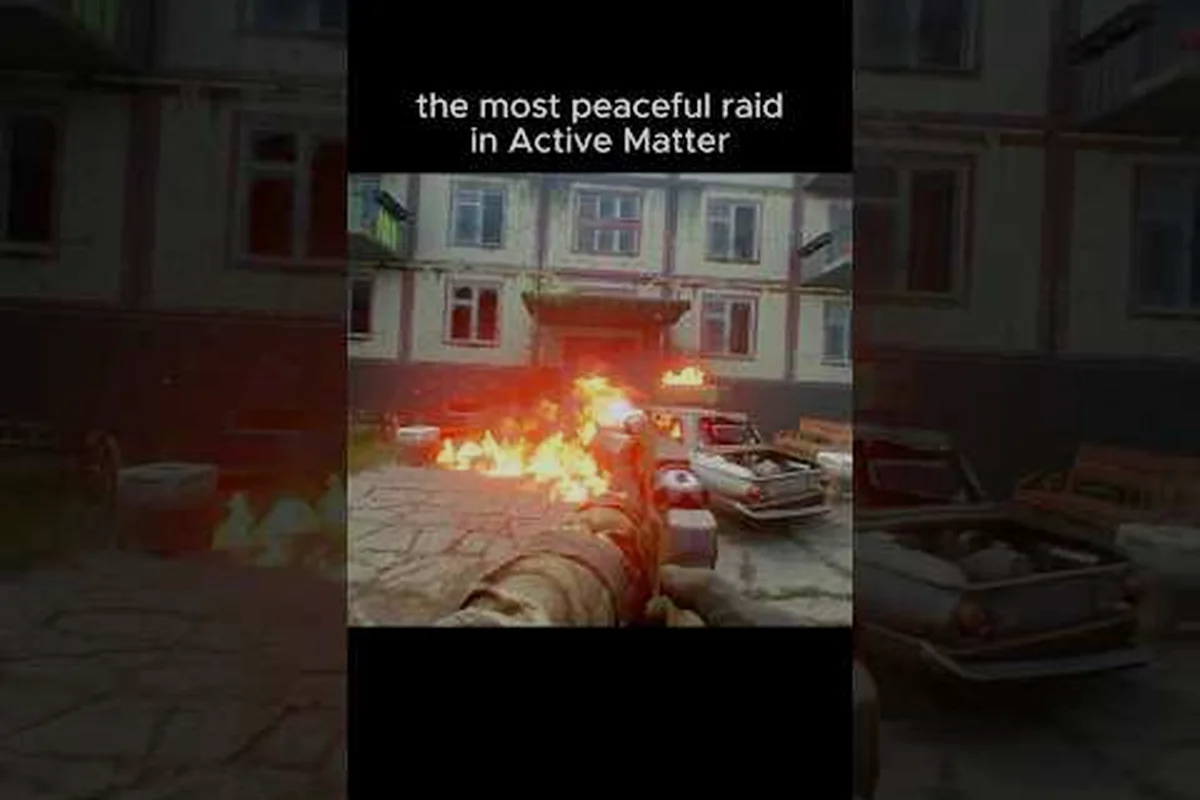
Raid operations in Active Matter are built around a single promise: whatever active matter you can carry to an extraction point belongs to you, and whatever you cannot carry is lost to the quantum unstable zone forever. This active matter extraction guide walks you through the complete raid loop — entering a broken map pocket, surviving PvPvE combat, and triggering a safe exit before the zone collapses on top of your squad.
How Raids Work in Active Matter
Every raid in Active Matter follows the same extraction-shooter skeleton: queue in, drop in, loot, fight, extract. The twist is the setting — a fractured multiverse where the substance that bends time and space is the most valuable resource in the game. According to the Active Matter official website, operators drop in alone or with a compact fireteam into quantum unstable zones, hunting active matter and other loot while rival syndicates do the exact same thing in parallel.
The Core Raid Loop
Each raid session is a closed loop with four stages. Understanding where you are in the loop tells you what to prioritize — running straight for high-tier loot in the first minute is just as wasteful as camping the center while your teammates die on the perimeter.
| Stage | What Happens | Player Priority |
|---|---|---|
| Drop In | Squad spawns at the zone edge with starter gear | Survey map, mark extraction points, plan route |
| Loot Phase | Players scavenge active matter clusters and AM-transformed creatures | Farm safely, avoid PvP unless forced |
| Contested Phase | Other squads converge on high-value zones | Engage on your terms, use vehicles for rotation |
| Extraction | Players reach an extraction point to bank loot | Time your exit, defend the extraction point, leave alive |
The drop-in moment is the most underrated. Players who sprint toward a color-coded rare loot icon without scouting first tend to walk directly into an entrenched squad that arrived thirty seconds earlier. The official site confirms that rare loot zones are marked with color-coded resource icons, which means the loot is visible to every other operator on the map — there is no such thing as a hidden vault.
Squad Size Scaling and Risk Profile
Active Matter raids scale difficulty based on squad size, but they do not lock you into one role. Solo players carry less loot and die faster, but they are harder to detect and can rotate between extraction points without coordination overhead. Three-player squads can split-push high-value zones and revive downed teammates, but they also generate more heat on the map and tend to attract coordinated enemy squads.
This active matter raids guide treats solo and squad play as two different games sharing the same map. If you are new to the loop, the first raid walkthrough covers the basics of the quantum unstable zone entry sequence in more detail.
Active Matter Raid Types Explained
Not every raid in Active Matter plays the same way. The Operation 250 Shades of Liberty update added new raid zones including Downtown, Downtown: Unstable Zone, Downtown: Collapse, and Airport with a plane suspended in a gravity anomaly. Each raid type has its own tempo, loot table, and optimal extraction strategy.
Standard vs Unstable Zone Raids
Standard raids are the bread-and-butter of the extraction loop. You drop in, fight AM-transformed creatures, scavenge clusters, and extract. Unstable Zone raids add environmental hazards — gravity anomalies, collapsing infrastructure, and unstable spacetime rifts that close the map down over time.
| Raid Type | Duration | Map Hazard | Best Loot Source | Recommended Exit |
|---|---|---|---|---|
| Standard Raid | 15-20 min | Low — predictable AI patrols | Active matter clusters | Any extraction point |
| Unstable Zone Raid | 12-15 min | High — collapsing zones | AM-transformed boss kills | Pre-planned extraction point |
| Syndicate War | 25-30 min | Extreme — PvP focused | Contested points + boss loot | Squad-extraction only |
| Collapse Event | 8-10 min | Terminal — map shrinks fast | Center-loot only | Closest extraction point |
The collapse event is the newest raid type and rewards aggressive play. Because the map physically shrinks over the course of the raid, players cannot camp on the perimeter forever — they are forced inward by environmental damage, which concentrates combat and loot density in a smaller area.
Quantum Unstable Zone Entry Rules
Entry into a quantum unstable zone is gated by several checks. According to the official news page, players must have a valid raid ticket, equipped gear, and a clear stash space. Once inside, the zone does not pause when you alt-tab out — your character continues to exist in the raid and can be killed by other players or environmental damage while you are away.
Players who queue into a raid should treat the entry screen as a final gear check. Community testing suggests that more than half of failed extractions start with players who brought the wrong weapon class for the raid type — for example, a long-range rifle into a close-quarters collapse event where the map shrinks faster than you can hold a sight line.
PvPvE Combat Flow and Threat Priority
The PvPvE in Active Matter is not a gimmick label — it means the game runs AI threats and player threats on the same aggression layer, and both can kill you equally fast. According to the official game description, the goal is to harvest active matter by killing AM-transformed creatures, taking it from other players, or picking it up directly from active matter clusters. That means every high-value loot source is a triple threat: AI guards it, other players want it, and the environment may be unstable.
Threat Triage System
Smart players run a three-tier threat triage during combat. Higher-tier threats override lower-tier threats unless the lower-tier threat is about to kill you. This system keeps you from tunnel-visioning on a loot drop while a syndicate squad flanks you.
| Threat Tier | Source | Response |
|---|---|---|
| Tier 1 — Lethal | Squad member at 10% HP, extraction point under direct attack | Drop everything, revive or defend |
| Tier 2 — Blocking | AM-transformed boss in your path, enemy squad on sight | Decide: fight or rotate around |
| Tier 3 — Opportunity | Loot drop, active matter cluster, low-HP solo player | Loot only if Tier 1 and Tier 2 are clear |
Players who violate the triage — chasing a Tier 3 loot drop while a Tier 1 teammate bleeds out — lose raids. Community reports on the Steam discussion boards suggest the most common cause of failed extractions is exactly this: a player runs past a downed squadmate to grab a cluster, then both players end up dead because the squadmate bled out and the cluster was a trap.
Active Matter How to Extract Without Losing It All
The active matter how to extract question comes down to two triggers: reaching an extraction point and holding that extraction point until the extraction timer completes. If you die during the timer, the loot you were carrying drops on the ground for the next operator to pick up. If you log out during the timer, the extraction still completes but you may be flagged as AFK.
The safest extraction pattern is to send a single squad member to scout the extraction point first, confirm no enemies are camping, and then call in the rest of the squad. Solo players do not have that luxury and must use environmental cover, vehicles, or pre-planted traps to defend the extraction point while the timer runs.
Extraction Points, Exit Triggers, and Loot Protection
Active matter extraction points are fixed locations on each map, but they are not equally safe. Some are exposed and easy to defend, while others are deep inside high-traffic zones that are swarming with both AI and players. The Operation 250 update added new color-coded markers that make extraction points visible at long range, which is a blessing for navigation but a curse for stealth — every other player on the map knows where you are headed.
Extraction Point Tier List
| Extraction Point | Location Type | Risk Level | Best Use Case |
|---|---|---|---|
| Perimeter Helipad | Map edge, open ground | Low | Squad extraction with vehicles |
| Subway Tunnel Exit | Underground, narrow | Medium | Solo extraction, anti-camp defense |
| Rooftop Landing Pad | Building top, exposed | High | Quick extraction with helicopter |
| Collapsed Highway | Center-map, high traffic | Extreme | Emergency extraction only |
The collapsed highway extraction point is the most dangerous because it sits in the path of nearly every squad rotating between loot zones. Community data suggests that more than 60% of player kills on the collapse map happen within 100 meters of this extraction point.
Exit Triggers and Quantum Zone Collapse
Exit triggers in Active Matter fall into three categories. Manual extraction requires a player to physically reach an extraction point and activate it. Timed extraction happens automatically when the raid clock hits zero, banking whatever you are carrying. Emergency extraction is a rare drop that lets you teleport to the nearest safe extraction point, usually as a reward from high-tier loot crates.
The quantum unstable zone collapse is a forced exit trigger. As the raid timer runs down, the playable area of the map shrinks, and players caught outside the safe zone take continuous damage. The collapse does not care about your loot — if you are outside the safe area when it closes, your character is dead and your loot is lost.
For a closer look at how the playable area morphs while the quantum unstable zone collapse is eating the map, the WWII map breakdown tracks how older map variants route players toward extraction points, including which chokepoints the collapse closes off first and where emergency extraction drops tend to spawn in the final safe ring.
Advanced Extraction Strategy and Syndicate Play
Once you understand the basic loop, the active matter extraction guide becomes a question of how to push your raid yield higher without dying more often. This is where syndicate play comes in — organized groups that run raids together, share loot priorities, and coordinate extraction defense.
Pre-Raid Planning Checklist
Before queuing into any raid, run through this checklist — it is the single highest-leverage habit separating average runs from successful extractions. Skipping even one item (a half-empty stash, a wrong loadout, or an unconfirmed extraction point) cascades into mid-raid decisions that bleed time, ammo, and revive tokens. Veteran squads on the official Discord report that runners who prep the full list before queuing hit an estimated 80% survival-to-extract rate, compared to roughly 50% for those who improvise inside the raid, since most failed Active Matter extractions trace back to one of the seven items below.
-
Stash cleared so you have room for the loot you plan to extract
-
Loadout matched to the raid type (long-range for open maps, close-quarters for collapse events)
-
Extraction point chosen before drop-in, with a backup if the primary is camped
-
Squad role assigned — one player scouts, one player loots, one player holds rear
-
Vehicle fueled if you are rotating to a far extraction point
-
Syndicate comms open to call out enemy positions
Loot Priority and Carry Weight
Active matter is not the only valuable resource in a raid. Firearms like the RSh-12, MAC-11, P17-V, SCAR-H, M14, M39 EMR, and DP-12 are all listed as new additions in the Operation 250 update and can be extracted for inventory or sold to vendors. Melee weapons including the crowbar, pry bar, baseball bat, and police flashlight are lower-tier loot but weigh almost nothing, which makes them ideal carry items for solo players who need to move fast.
| Loot Category | Weight | Value | Carry Priority |
|---|---|---|---|
| Active Matter Cluster | Heavy | Very High | First |
| Rare Firearm | Medium | High | Second |
| Modification (TGP-A, Spectrum Scope, C5 Laser) | Low | Medium | Third |
| Melee Weapon | Very Low | Low | Fourth |
| Common Ammo / Meds | Negligible | Utility | Always carry |
Players running an active matter extraction guide playbook should check the syndicate creation guide before queuing into contested lobbies, because raid efficiency depends heavily on squad composition—solo players cap active matter cluster hauls at one per run, whereas a 4-person syndicate can split carry weight and extract two clusters in a single Operation 250 raid. Pre-assigning the dedicated carrier role also prevents the common mid-raid reshuffle that drops clusters near extraction points.
Frequently Asked Questions
What is the active matter extraction guide in one sentence?
The active matter extraction guide is a complete walkthrough of the raid loop — from dropping into a quantum unstable zone, surviving PvPvE combat, and triggering a safe exit at an extraction point to bank the active matter and rare loot you collected during the raid.
What are the main active matter raid types?
Active Matter currently features Standard Raids, Unstable Zone Raids (with collapsing map hazards), Syndicate Wars (PvP-focused operations), and Collapse Events (short raids where the map shrinks aggressively). Each raid type uses a different optimal exit strategy and rewards different loot priorities.
How does the PvPvE combat flow actually work in Active Matter?
Active Matter runs AI threats and player threats on the same aggression layer, so AM-transformed creatures, enemy squads, and unstable environmental hazards can all threaten you at the same time. A successful PvPvE flow uses a three-tier threat triage that prioritizes lethal threats over blocking threats, and blocking threats over loot opportunities.
Where are the active matter extraction points on each map?
Extraction points are fixed locations on every map, marked with color-coded icons that are visible at long range. They include perimeter helipads, subway tunnel exits, rooftop landing pads, and collapsed highway points. Risk levels vary from low (perimeter helipads) to extreme (collapsed highway in the center of the map).
How do I extract without losing my loot in Active Matter?
Reach an extraction point, activate the manual extraction trigger, and defend the area until the extraction timer completes. If you die during the timer, your loot drops for other players to pick up. Solo players should scout the extraction point first, then activate the timer while using cover and traps to defend against enemy rotations.