
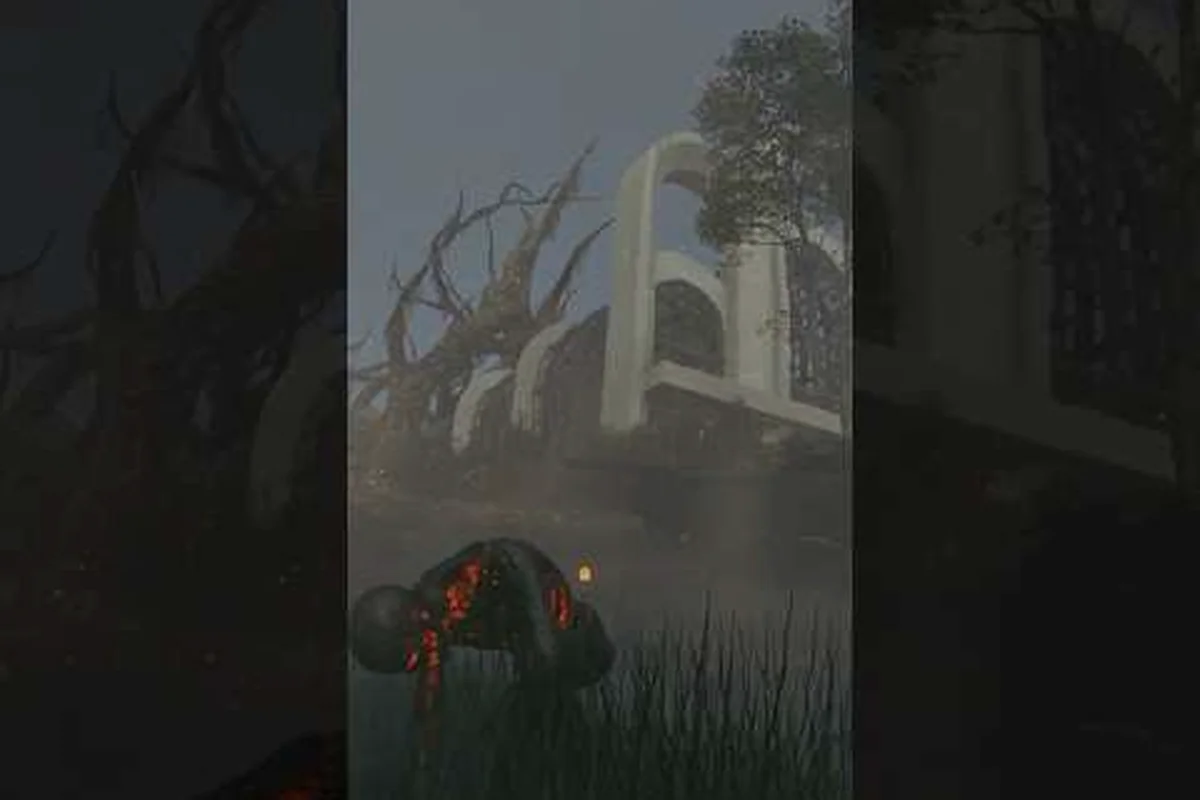
What Makes the Active Matter Quantum Unstable Zone Different
The Active Matter quantum unstable zone is the highest-stakes arena inside the extraction loop, where a collapsing spatial anomaly compresses a raid window into a tight race against physics. Players who enter the zone fight both AM-transformed creatures and rival operators, harvesting the resource called active matter before the field destabilizes completely. According to the official Active Matter website, the unstable zones sit at the core of the PvPvE experience, framing every run as a balance between greed and timing.
Three structural layers define the zone, each shaping how a quantum unstable zone run actually plays out rather than acting as cosmetic labels: the anomalous field dictates movement and sight, the shared raid window forces every squad and solo operator onto the same collapse clock, and reward density decides whether the risk of pushing deep into the collapsing anomaly is worth the guaranteed wipe if extraction slips past the timer.
-
Anomalous field — quantum interference that warps sight lines, damages exposed operatives, and reshuffles interior layouts as collapse approaches.
-
Raid window — a server-shared countdown (see raid timer section) that gates when squads and solo players can deploy.
-
Reward density — high concentration of active matter clusters, rare loot, and AM-transformed elites that only spawn inside the anomaly.
Because collapse erases anything left on the ground, the quantum unstable zone punishes hesitation. The same trait that makes the space lucrative also makes it the most punishing place to learn the loop, which is why pairing this breakdown with an extraction fundamentals walkthrough pays off for newer operators.
Active Matter Zone Explained: Anatomy of the Anomaly
The active matter zone explained at a mechanical level comes down to a layered threat model rather than a single map. Each quantum unstable zone stitches together a starting perimeter, a mid-ring of loot rooms, and a collapsing core that funnels surviving players toward the final extraction corridor.
Spatial Layout and Phases
| Phase | Visual Cue | Player Behavior | Collapse Risk |
|---|---|---|---|
| Phase 1 — Perimeter breach | Green anomaly haze at zone edge | Push inward, scout enemy teams | Low |
| Phase 2 — Mid-ring contention | Yellow flash pockets | Contest loot rooms, manage aggro | Medium |
| Phase 3 — Core compression | Red lightning arcs | Race toward central cluster | High |
| Phase 4 — Collapse wall | Opaque field closes from edges | Extract immediately or lose loot | Critical |
Each phase shortens the time players can stay exposed, which means loadout decisions made in the staging tent directly determine how long you survive. If you are still tuning your kit, the solo operator survival guide covers the inventory math that keeps a single agent competitive against squads inside the quantum unstable zone.
Threat Layers Inside the Zone
The active matter quantum unstable zone functions as a layered pressure system, not a static loot room, because the collapse timer forces all three threat sources into the same shrinking space simultaneously. Creatures aggro on the bright AM clusters that pulse during the final 30 seconds, rival squads push in for the high-tier active matter drops before the raid timer expires, and anomalous environmental pulses re-roll room geometry on a roughly 20-second cycle. That overlap is intentional: the encounter punishes operators who specialize in only one threat layer, since ignoring any single source usually hands the zone's best rewards to whichever squad managed the full three-axis threat picture.
-
AM-transformed creatures — aggressive AI enemies drawn to active matter clusters, often ambushing solo players who push ahead of their squad.
-
Rival operators — human squads contesting the same high-value rooms, especially during the final 90 seconds before collapse.
-
Anomalous hazards — environmental pulses that deal damage, blind operators, or relocate the player to a different sub-room.
Players who treat the active matter zone collapse as a PvE sprint tend to lose their haul to a well-timed rival squad. Players who treat it as pure PvP tend to be ambushed by a creature pack they ignored. The most consistent operators balance both threat layers, using suppression tools and sight-line control to keep enemies guessing.
Active Matter Zone Collapse: How the Field Ends
The active matter zone collapse is the hard timer that ends every raid inside a quantum unstable zone. Once the countdown reaches zero, the anomaly folds in on itself, destroying every operator, container, and unclaimed cluster still inside the playable area. Only loot loaded into a secured pouch or carried by a player who has reached an extraction point survives.
Collapse Stages and Their Consequences
| Collapse Stage | Approximate Duration | Effect on Players | Effect on Loot |
|---|---|---|---|
| Instability warning | ~60 seconds | Visual distortion, audio cues | Containers start to flicker |
| Compression pulse | ~30 seconds | Direct damage every few seconds | Unsecured items begin to despawn |
| Final fold | 10–15 seconds | One-shot kill on any survivor inside | All remaining clusters disintegrate |
| Post-collapse residue | Server-wide | Raid marked as concluded | Reward screen tallies extraction |
According to community data reported by players who logged dozens of runs, the compression pulse is the moment most squads lose their haul. Operators focus on the final loot room and forget that the collapse wall has already swallowed the corridor behind them. Designing your route so extraction is the last action, not the last stop is the single biggest adjustment that improves survival rates.
Why Collapse Rewards Speed, Not Caution
Because the active matter zone collapse deletes unclaimed loot, the value curve inside a quantum unstable zone is steep. The longer you wait, the more you risk, and the more you need to extract to justify the time spent. This is why raid speed is not a vanity metric — it is the difference between walking out with a full backpack and watching your haul disintegrate in front of you.
Active Matter Raid Timer: Reading the Rotation
The active matter raid timer is the server-shared schedule that decides when the quantum unstable zone becomes available and how long each rotation lasts. Patch 0.4.0.62, summarized in the official update notes, restructured the queue into three distinct lists — Raids, Hired Ops, and Faction Battles — with a countdown to the next raid rotation visible from the deployment screen.
Timer Reference Table
| Timer Element | Behavior | Where to Check It |
|---|---|---|
| Pre-raid countdown | Locks the quantum unstable zone until the window opens | Deployment screen |
| Active raid window | Players can deploy, scavenge, and extract | Top-right HUD inside the zone |
| Collapse countdown | Final hard timer before the field folds | Center-screen warning banner |
| Rotation reset | Cycle restarts and a new quantum unstable zone becomes available | Server announcement |
Players who learn to read all four timers at once gain a structural advantage. Watching the rotation reset while finishing a run lets you chain a second deployment the moment your pouch is secured, which compounds the active matter raid rewards you can earn in a single session.
Practical Timer Habits
-
Sync your loadout swap to the rotation reset so the next quantum unstable zone is ready the moment it opens.
-
Plan the extraction path during the active raid window's first 60 seconds so collapse does not catch your team in a chokepoint.
-
Treat the collapse countdown as a hard stop, not a suggestion. Even one second inside the fold is enough to lose everything.
Active Matter Raid Rewards: What You Can Carry Out
Active matter raid rewards scale with risk, time inside the zone, and the quality of the route you take. Because the quantum unstable zone concentrates rare spawns, the reward ceiling is high, but the floor is brutal for anyone who fails to extract in time.
Reward Tier Table
| Tier | Source Inside the Zone | Typical Yield | Risk to Extract |
|---|---|---|---|
| Common | Standard containers, defeated creatures | Scrap, basic ammo, common mods | Low |
| Uncommon | Mid-ring loot rooms, AM elites | Weapon parts, mods, mid-tier gear | Medium |
| Rare | Core clusters, boss creatures | Active matter shards, blueprint fragments | High |
| Legendary | Final extraction cache, faction-locked chests | Signature weapons, schematic drops | Critical |
The active matter raid rewards table above is a useful mental model, but the practical question most operators ask is: should I run solo or pull a squad? The answer depends on which tier you are chasing. Common and Uncommon drops are easily soloable inside the quantum unstable zone provided you manage the raid timer correctly, since the threat is limited to scattered AM elites and standard creatures. Rare tier pushes back hard: core clusters summon boss creatures that chain-collapse, and solo operators without coordinated crowd control will often miss the extraction window. Legendary caches are functionally squad-locked because faction-locked chests require simultaneous key activations from multiple operators before the zone collapse timer expires, making a four-person squad the minimum viable composition for a clean extract.
Solo vs Squad Reward Math
-
Solo runs — Higher reward share per player because there is no split, but you also shoulder the full risk of collapse, aggro, and rival squads. A solo operator who extracts cleanly walks out with 100% of the haul.
-
Squad runs — Rewards are divided among teammates, but squads clear rooms faster, control sight lines more aggressively, and contest the final cache more reliably against rival teams.
If you are still building confidence with the squad meta, the Syndicate creation breakdown walks through how organized groups communicate and split loot, which directly affects the kind of active matter raid rewards your team can chase.
Active Matter Solo Raid: Running the Quantum Unstable Zone Alone
The active matter solo raid is the most demanding way to engage a quantum unstable zone. There is no teammate to revive you, no second pair of eyes to spot a rival squad, and no shared backpack to split the haul across. In return, the solo operator keeps 100% of the active matter raid rewards and learns the map in a way that squad play simply cannot replicate.
Solo Operator Loadout Priorities
| Slot | Solo Priority | Why It Matters |
|---|---|---|
| Primary weapon | Mid-range, controllable recoil | Lets you fight at multiple ranges inside the zone |
| Secondary | Suppressed sidearm | Stealth takedowns on distracted rivals |
| Backpack | Medium or large with magazine pouch | Maximize carry before collapse forces extraction |
| Consumables | Stims, grenades, one deployable | Self-sufficiency when no squadmate can support |
Because the active matter solo raid collapse timer is unforgiving and skips pauses between encounter waves, solo operators should treat the countdown as non-negotiable the moment the last quantum unstable zone node is destabilized. Pack only the medium or large backpack with a pre-loaded magazine pouch, skip any optional containment room once collapse initiates, and prioritize stims over trophy loot—delaying extraction by even 30 seconds past the collapse threshold will delete unbanked rewards from the active matter zone, and no respawn token can recover them.
Common Solo Failure Modes
-
Overextending on a creature kill — Solo players often chase a wounded AM elite into a side room and miss the collapse window.
-
Ignoring rival audio cues — Without a squad, you depend on your own ears; muted voice channels and audio settings reduce awareness inside the quantum unstable zone.
-
Hoarding past extraction capacity — Carrying more than your pouch can secure means the collapse eats the difference. Knowing the backpack and pouch math prevents this.
Active Matter Squad Raid: Coordinating Inside the Anomaly
The active matter squad raid is where organized teams convert the quantum unstable zone's chaos into a controlled resource operation. A squad that communicates, splits responsibilities, and respects the collapse timer can consistently extract rare-tier active matter raid rewards that solo players can only dream about.
Squad Role Table
| Role | Primary Job | Support Job | Collapse Responsibility |
|---|---|---|---|
| Point | Lead route, scout ahead | Call rival positions | Trigger extraction early if needed |
| Flank | Cover sight lines, intercept rivals | Suppress mid-ring enemies | Cover retreat to extraction |
| Backpack | Carry shared loot, manage pouch capacity | Drop stims for teammates | Final extract with secured haul |
| Flex | Adapt to threats (creature, player, anomaly) | Revive downed squadmates | Anchor the extraction corridor |
The active matter squad raid thrives when each operator knows their role before the first container opens. Squads that improvise roles mid-raid tend to lose members to creatures or rival gunfire while the rest of the team is still arguing about the route.
Communication Beats That Win Raids
-
Entry call — Confirm squad roles, pouch plan, and extraction corridor before the quantum unstable zone opens.
-
Mid-ring check-in — At the halfway mark of the active raid window, confirm each operator's position and pouch status.
-
Collapse trigger — Designate one squad member to call the final extract at a fixed countdown, removing individual hesitation.
Pairing squad discipline with a solid first-raid primer gives newer groups a reference point for the early-game expectations before they graduate into the high-stakes quantum unstable zone rotations, where the 90-second active matter raid timer, denser collapse waves, and tier-scaled rewards demand tighter pouches, faster entry calls, and a non-negotiable mid-ring check-in to survive the extract countdown without losing the bonus tier.
Field-Tested Strategies for the Quantum Unstable Zone
Once the basics are second nature, the difference between a decent operator and a great one comes down to the small habits repeated run after run. These strategies distill what experienced players report across dozens of quantum unstable zone rotations.
Before You Deploy
-
Audit your pouch — Enter the zone only when your backpack and magazine pouch can hold the haul you plan to extract. A partial loadout into a quantum unstable zone is a guaranteed collapse loss.
-
Check the rotation list — The Raids list in patch 0.4.0.62 shows the next quantum unstable zone rotation. Skipping a less appealing window to wait for a better map is sometimes the smartest play.
-
Review the patch notes — Updates like Operation 250 Shades of Liberty (see the official news entry) add new firearms, melee weapons, and rare loot zones. Each patch reshapes which active matter raid rewards are worth chasing.
Inside the Zone
-
Move with purpose — Every second inside the quantum unstable zone burns toward the collapse. Plan three actions ahead, not one.
-
Use the anomaly as cover — Distortion pulses blind rival squads too, and smart operators use those windows to flank or reposition.
-
Track rival audio — Footsteps and gunfire in a quantum unstable zone betray rival positions long before you see them. Audio discipline wins more extractions than raw aim.
At Extraction
-
Call the extract early — Better to extract with 80% of your haul than to lose 100% to the collapse wall.
-
Secure first, brag later — Pouch the loot before celebrating. The collapse wall does not care about your kill feed.
-
Chain rotations — The moment your team extracts, the next quantum unstable zone window may already be loading. Staying on the deployment screen keeps the next active matter raid rewards within reach.
Frequently Asked Questions
What is the Active Matter quantum unstable zone?
The Active Matter quantum unstable zone is a high-density extraction arena wrapped in a collapsing spatial anomaly. Players deploy solo or in squads, fight AM-transformed creatures and rival operators, and must extract before the field folds. It is the most rewarding and most punishing part of the Active Matter raid loop.
How does the active matter zone collapse work?
The active matter zone collapse runs in stages: an instability warning, a compression pulse that damages players and despawns unsecured loot, and a final fold that kills any operator still inside. Only loot carried by a player who has reached extraction or stored in a secured pouch survives, which is why route planning matters more than raw loot room clears.
When does the active matter raid timer reset?
The active matter raid timer resets on a server-shared rotation. Patch 0.4.0.62 split the deployment list into Raids, Hired Ops, and Faction Battles, with a visible countdown to the next quantum unstable zone rotation. Watching the rotation reset lets you chain deployments back to back.
Should I run the quantum unstable zone solo or with a squad?
Solo runs keep 100% of the active matter raid rewards but demand perfect timing and self-sufficiency. Squad runs split the haul but clear rooms faster, control rival squads more reliably, and extract more consistently. New operators usually perform better in a squad, while veterans chase solo quantum unstable zone runs for the full reward share.
What are the best active matter raid rewards to chase?
The best active matter raid rewards come from the core cluster and the final extraction cache inside the quantum unstable zone. Active matter shards, blueprint fragments, and signature weapon schematics appear most often there, but they require you to extract before the collapse. If you cannot secure the haul in time, the rewards vanish along with the rest of the zone.