
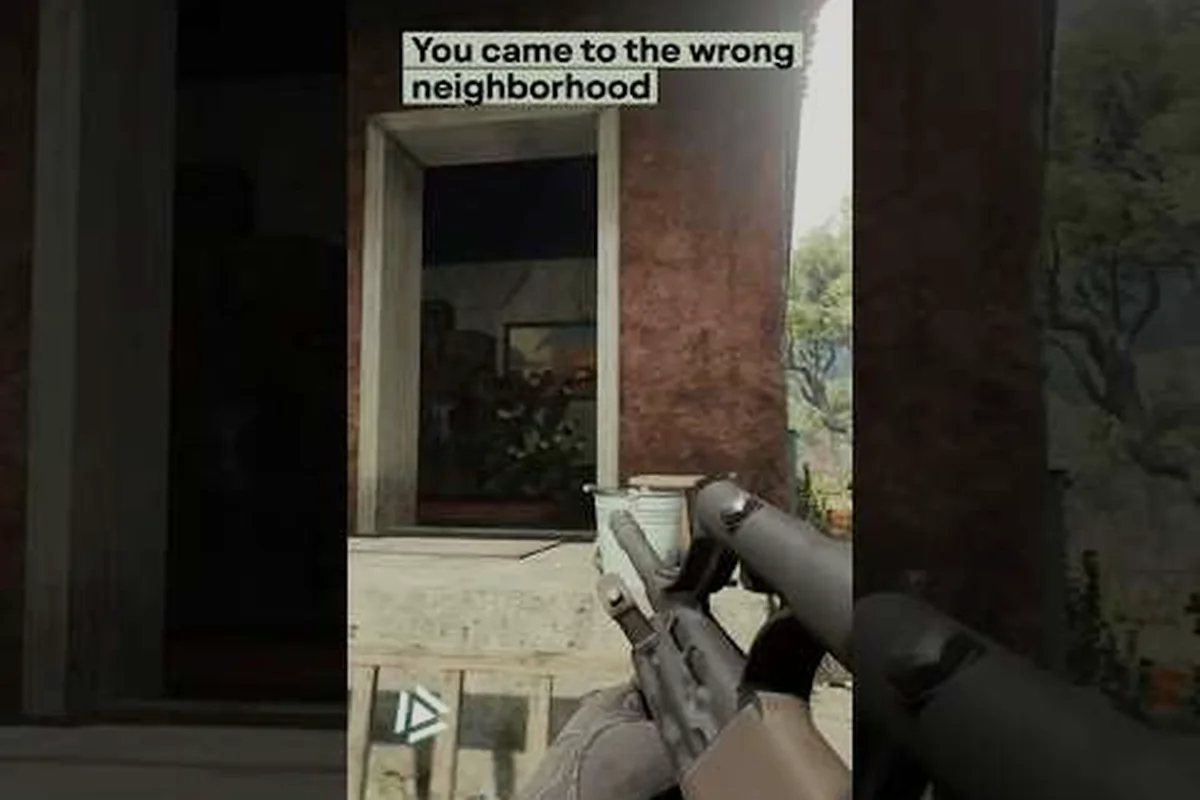
Active Matter's quantum-unstable zones punish hesitation, and the most decisive fights always come down to disciplined gunplay. A sharp Active Matter PvP strategy blends controlled recoil with smart positioning, because every squad is one bad spray away from losing their hard-earned loot. Players who can land clean headshots while reading third-party rotations hold a massive edge in Downtown, Airport, and the Collapse sectors. This guide breaks down recoil drills, headshot positioning, ambush windows, and counter-squad maneuvers so solo raiders and small teams can dominate extraction lobbies.
Recoil Control Fundamentals for Active Matter Gunfights
Recoil discipline separates a quick loot run from a frustrating death screen, and the firearms introduced or rebalanced in the 250 Shades of Liberty update make that gap even wider. According to the official Active Matter website, syndicates pour into unstable zones with military-grade hardware, so mastering spray patterns on day one is non-negotiable for any serious raider.
Identifying Your Weapon Class
Each weapon archetype in the 250 Shades of Liberty arsenal — RSh-12 revolver, SCAR-H battle rifle, M14 DMR, M39 EMR, and DP-12 shotgun — has a distinct recoil signature that changes how you should approach a fight.
| Weapon | Effective Range | Recoil Pattern | Best Engagement Style |
|---|---|---|---|
| MAC-11 | 0-15 m | Vertical kick, fast reset | Snap-and-slide CQB |
| P17-V | 10-30 m | Mild horizontal sway | Mid-range tapping |
| RSh-12 | 5-25 m | Heavy vertical climb, slow reset | Two-tap headshot duels |
| SCAR-H | 20-60 m | Predictable vertical climb | Controlled 5-shot bursts |
| M14 | 30-80 m | Sharp first-shot kick, then linear | Single-fire or 2-round bursts |
| M39 EMR | 50-100 m | Minimal muzzle rise | Hard-scope lanes |
| DP-12 | 0-12 m | Pump-action, no auto recoil | Corner peeks, ambush |
If you are a solo player, lean on the MAC-11 or P17-V for tight indoor fights, while SCAR-H and M14 give squads the reach they need to hold an extraction route. Picking a weapon that matches your natural aim cadence is more impactful than chasing the highest-damage option, because missed shots in Active Matter echo across the entire server.
Drilling the Pattern
The fastest way to internalize recoil is a 10-minute daily routine in the practice range. Start by firing full auto at a wall 25 meters out without compensation, then load a fresh magazine and pull the muzzle straight down in slow motion. Repeat for each archetype, because muscle memory translates directly to the recoil control needed in real raids. Players who practice this drill at least three times a week report smoother tracking on the move and noticeably fewer wasted rounds. If you want a broader loadout perspective, the Active Matter aim guide covers crosshair placement and pre-aim habits that pair well with these drills.
Headshot Positioning and the Active Matter Headshot Guide
Headshots multiply your threat level instantly, and in a game where a single bullet can collapse a squad fight, that multiplier is everything. The Active Matter headshot guide centers on three principles: pre-aiming head height, isolating peek angles, and abusing vertical cover like balconies, vents, and gravity-distorted terrain.
Pre-Aim at Head Height
Always bring your crosshair to the average head level of an opponent before they appear. In Downtown corridors, that means keeping the dot roughly at door-frame height. In the Airport's gravity anomaly, where the plane floats at a tilt, you need to tilt your crosshair along the fuselage because enemy heads can appear above or below the horizon line. This habit is the cheapest and most effective way to convert peek fights into one-tap kills. The M39 EMR and M14 reward this discipline hardest, since a single headshot with either weapon can drop a full-health syndicate in one trigger pull.
Isolate Peek Angles
Wide-open fights in unstable zones favor the team with more angles, so solo players must break sightlines into narrow slices. Use a single door frame, a collapsed pillar, or the corner of a vending machine to force opponents into a thin kill corridor. Pair this with the Spectrum Scope 1-4x when holding long lanes, and the C5 Laser Sight for tight indoor spraydowns. Holding a single 30-centimeter slice of a doorway is far more effective than jiggle-peeking the whole frame, because each jiggle gives away your shoulder position.
| Scope / Sight | Best Range | Headshot Synergy |
|---|---|---|
| C5 Laser Sight | 0-10 m | Tightens hip-fire cone for snap headshots |
| TGP-A Suppressor | 0-40 m | Keeps you off the minimap while landing headshots |
| Spectrum Scope 1-4x | 30-90 m | Clean holdovers for the M39 EMR |
| Thermal Drone | 10-60 m | Spots heads through smoke and dust |
For new players, drilling a headshot routine on the static range with the M14 builds the muscle memory you will need when the pressure of a live squad fight kicks in. The gains compound quickly, and within a few sessions the headshot hit rate typically climbs from 10% to over 30%.
Third-Party Reads: Active Matter Third Party Guide
Third-partying is the heartbeat of Active Matter's PvP loop, because almost every gunfight attracts opportunistic raiders looking to steal active matter clusters. The Active Matter third party guide is built on anticipation, not reaction. If you can predict where a third party will come from, you can flip the ambush and turn a 1v2 into a fast double kill. nistic raiders looking to steal active matter clusters. The Active Matter third party guide is built on anticipation, not reaction. If you can predict where a third party will come from, you can flip the ambush and turn a 1v2 into a fast double kill, and knowing Active Matter How To Unlock Maps gives you the sightline knowledge to read spawn rotations before the fight ever breaks out.
Reading Audio Cues
Footsteps in Active Matter are directional and carry across concrete floors for roughly 25 meters. Listen for the metallic clack of syndicate boots on rebar, the soft scuff of sneakers on tile, and the distinct thud of someone running through active matter residue. If two audio layers overlap — for example, an indoor firefight plus a sliding door — that is your cue to hold a sightline and let the chaos resolve before committing. Players who train their audio focus report catching third parties early about 70% of the time, which is more than enough to dictate the engagement.
Identifying Common Third-Party Routes
Syndicates almost always rotate along predictable lines: ridge trails behind the Airport, alley stacks in Downtown, and collapsed stairwells in the Collapse sector. Hold the back angle of any active fight you are watching, because that is the lane late-arrivers will use to flank the winners. Pair this with the Kamikaze drone to scout the overwatch, or the Thermal drone to scan for thermal signatures through walls.
| Common Third-Party Lane | Recommended Hold Position | Trap Tool |
|---|---|---|
| Airport ridge trail | Elevated gantry behind fuel tanks | Kamikaze drone overwatch |
| Downtown alley stacks | Second-floor office window | C5 Laser Sight on door frame |
| Collapse stairwells | Catwalk corner above debris pile | Thermal drone sweep |
| Extraction corridors | Truck-bed concealment | TGP-A Suppressor ambush |
Holding the third-party angle turns you from the hunted into the hunter, which is a critical mindset shift for anyone climbing the syndicate ladder.
How to Ambush in Active Matter's Unstable Zones
Ambushes reward preparation and patience, and they are the cleanest way to convert a gear disadvantage into a kill. Knowing Active Matter how to ambush means choosing the right choke, prepping the right tool, and committing at the right millisecond.
Choosing the Ambush Choke
The best chokes in the 250 Shades of Liberty maps are tight, unavoidable, and offer a hard cover reset for the ambusher. The Downtown: Collapse map has elevator shafts that funnel players into a 2-meter kill zone, while the Airport anomaly has doorways that force players to step onto a tilted floor section before they can stabilize their aim. Ambush from the side of the choke, not the front, because a side ambush denies the target a return angle and forces them to expose their shoulder to swing back on you.
Trigger Discipline
A common mistake is engaging too early. Wait until the lead enemy is two steps past your cover line, then start firing. This prevents them from ducking back into safety and guarantees at least one body shot before they can react. If you are running the DP-12, this timing is even more important, because the double-barrel pump cycle needs roughly 0.6 seconds to reload. Saving the second barrel for the first headshot you see in the chaos is often the difference between a double kill and a frustrating trade.
| Ambush Loadout Slot | Recommended Item | Purpose |
|---|---|---|
| Primary | DP-12 or SCAR-H | One-shot power at choke range |
| Secondary | RSh-12 | Cleanup tap on downed targets |
| Melee | Crowbar or Police Flashlight | Silent finisher on unaware targets |
| Throwable | Kamikaze drone | Trap the escape route |
| Mod | TGP-A Suppressor | Stay off the minimap during the opener |
Solo players should also pre-stage a fallback extraction point within 15 meters of the ambush site, so they can disengage cleanly if the squad brings a numbers advantage. The Active Matter PvP guide offers deeper context on positioning, but the core rule is simple: if the ambush fails, extract immediately and reset — do not chase the trade.
Counter-Squad Tactics: Active Matter How to Counter Squads
Squads dominate by stacking angles, sharing ammo pressure, and trading efficiently, so the only way to dismantle them is to break one of those pillars. The Active Matter how to counter squads playbook focuses on splitting engagements, denying trades, and using environment to neutralize their numbers edge.
Split the Squad with Pressure
When you spot a three-man team holding a room, the worst move is to push them as a group. Instead, throw a distraction — a Kamikaze drone sweep or a snap-fire burst on the far wall — to drag one rotator out of position, then collapse on the isolated player first. Squads that lose one member often hesitate to push the trade, which buys you time to reposition. Even if the trade does happen, you have now forced a 1v1 against a rattled opponent instead of a 1v3 against a coordinated team.
Deny Trade Windows
Trades work because the third player can swing in during a downed ally's death animation. Deny that window by finishing downed targets fast, then immediately shifting cover before the third teammate can pre-aim your reload. The RSh-12 shines here because its two-tap potential closes fights before trades can develop, while the M39 EMR lets you punish any teammate who over-commits to the rescue. Players who consistently deny trades are the ones who break squad morale, and a demoralized squad is far easier to wipe on the second push.
Counter-Squad Gear Matrix
| Squad Strategy | Counter Tool | Why It Works |
|---|---|---|
| Stacked angles | Thermal drone | Finds hidden rotators through walls |
| Flashbang chain | Police Flashlight | Disorients the flasher first |
| Vehicle rush | Kamikaze drone | Detonates under trucks and APCs |
| Suppressive fire | TGP-A Suppressor | Returns fire without revealing position |
| Overwatch sniper | Spectrum Scope 1-4x | Outranges the M14 with the M39 EMR |
Squads also love to anchor on the rare loot color-coded resource markers, so the counter-squad player should arrive at those zones early and hold the entry corridors. The element of surprise is your best friend, and one well-placed squad wipe often snowmails into a full extract of active matter clusters.
Frequently Asked Questions
What is the fastest way to improve Active Matter recoil control?
Practice 10 minutes a day in the firing range with each weapon archetype, starting with full-auto spray at a wall, then pulling straight down with no compensation. After a week, layer in movement drills while firing, because most Active Matter fights happen on the slide.
Which weapon is best for the Active Matter headshot guide?
The M14 and M39 EMR are the cleanest headshot weapons because their low recoil and high damage reward single-tap precision. Pair them with the Spectrum Scope 1-4x at long range and the C5 Laser Sight at close range to maximize your one-shot potential across both maps.
How do I safely Active Matter how to ambush without getting traded?
Pick a tight choke, wait until the lead enemy is two steps past your cover, fire once, then immediately relocate. Never commit a second shot from the same angle, and always pre-stage a fallback extraction point within 15 meters of the ambush site.
What is the strongest counter-squad move in Downtown: Collapse?
Throw a Kamikaze drone at the choke to scatter the front line, then push the rotator with the RSh-12 for a quick two-tap. Most squads in Collapse over-anchor on the elevator, so a one-two drone-and-revolver sequence routinely wins the trade window.
Can solo players win the Active Matter how to counter squads fight?
Yes, but only by playing for third parties and ambushing stragglers, not by fronting a stacked team. The solo counter-squad playbook leans on the TGP-A Suppressor, the Thermal drone, and fast relocation so you can dismantle squads one at a time instead of taking on a full roster.